  |
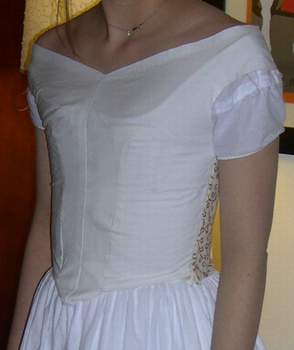
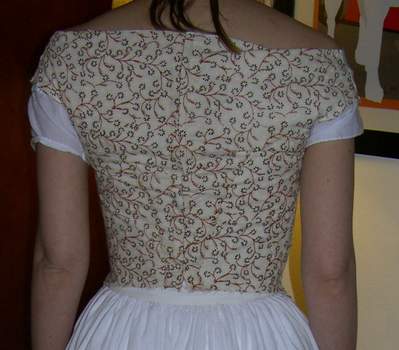
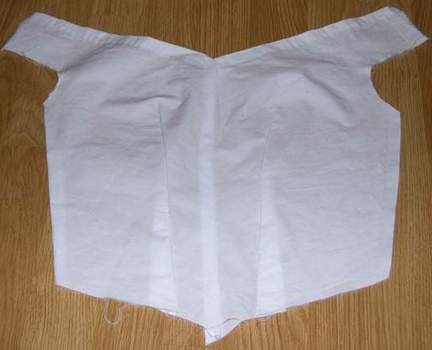
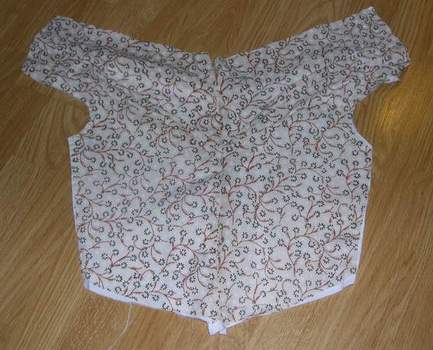
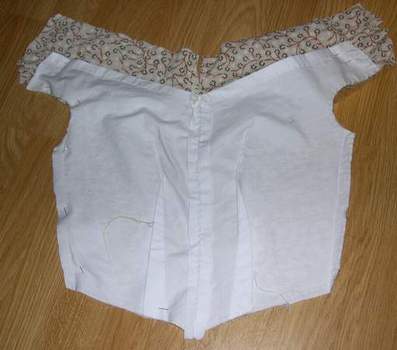
| I wanted to follow the construction techniques from my late 1830s bodice as closely as possible, which meant flat lining with a darted lining with one dart on each side, and the outer fabric cut on the bias with no darts. Since I never do darts in a muslin (the size of them always seems to change from muslin to final dress, so I just fit them on myself when I'm making the bodice), this meant I didn't know exactly what size I had to cut the printed fabric. To solve this dilemma, I made the bodice as I normally would, except I left the printed layer off, and just basted the side and shoulder seams. Then I tried the bodice on and fit the darts. After that, I unpicked the basting stitches, and was ready to drape the printed fabric onto the front piece. |
 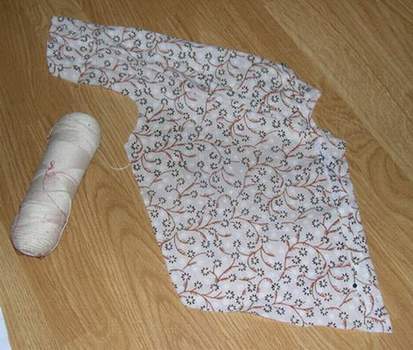 |
| The front lining removed from the dress and one half of the pleated print fabric. The pleats start about bust level and all point up. The cord was used for piping the center front between the two front panels. |
  |
| Once I had finished the front, I basted it to the lining. I trimmed it to just above the lining, sewed the silk satin piping to just the printed layer, folded it down, and sewed it to the lining. |
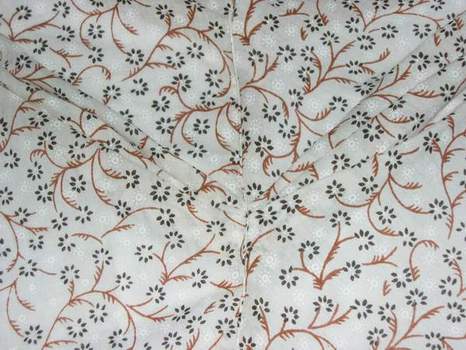 |
| Another close-up of the front, laid flat this time showing the large flat area above the pleats. |
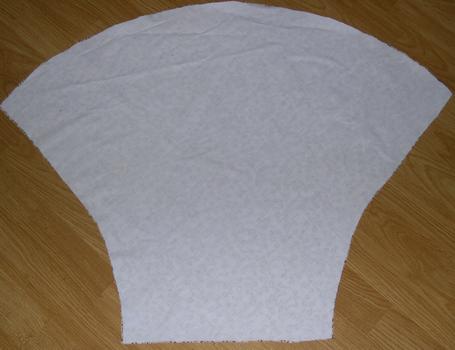 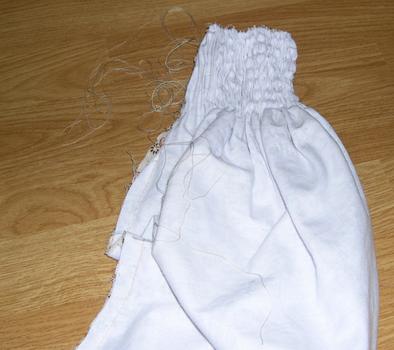 |
| The sleeve. On the left, you can see that the top of the sleeve is very full. On the right, the sleeve is gathered. |
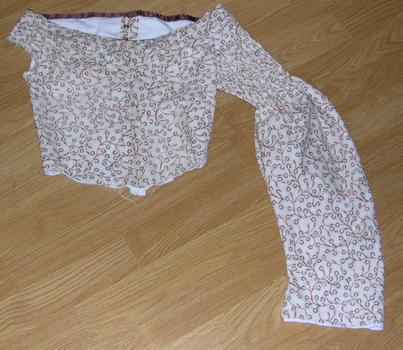 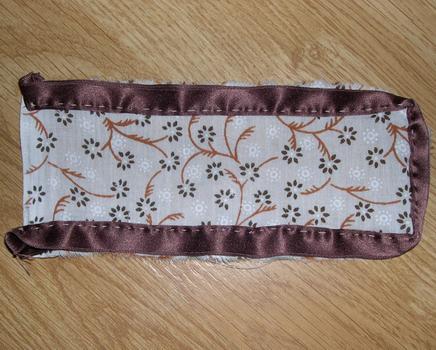 |
| The sleeve sewn in and the beginning of a cuff. The cuffs are piped with brown silk satin ribbon. |
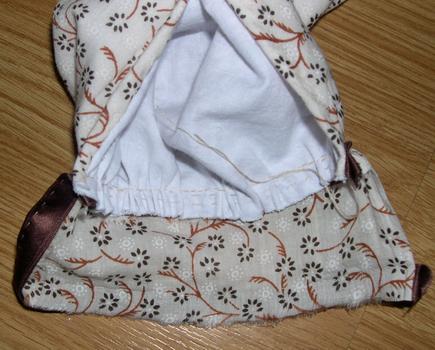 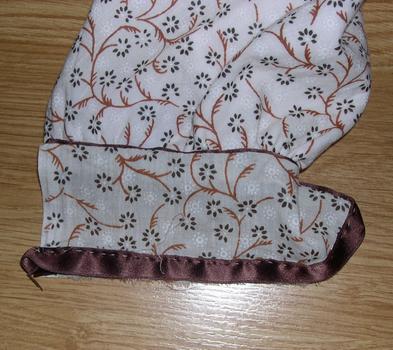 |
| More of the cuff. Sewn to the bottom of the sleeve, which is gathered to fit. After it was sewn, I lined it by cutting a piece of white cotton the same size, folding the seam allowances in, and slip stitching it just below the piping. |
The Dress
My Costumes
The Romantic Era
 I'd
like to go home!