A Nineteen Teens Pleated Skirt

the pattern


The pattern for the skirt is incredibly simple. It's two rectangles of fabric. The finished measurements are 30 inches wide by 35 inches long. Including seam allowances and hem, the original measurements are 32 inches wide by 38 inches long. The waist measures 25 inches.

The skirt is entirely machine sewn, excepting the snaps, two of the hooks, and the bar. It's made of wool crepe. The raw edge is bound with silk seam binding. The waistband is a very stiff 1 1/2 inch wide piece of tape and the top is bound with a half inch piece of twill tape. There are two twill tape loops for hanging sewn into the waistband (I left these out of the reproduction, I somehow just noticed them!).

The original skirt can be seen on the left. The fabric is cut selvedge to selvedge, and then cut in slightly, which forms the placket. This is one thing that I had to change, since wool is no longer available in widths that narrow!

For my skirt, I used two yards of wool crepe from Denver Fabrics, stiff curtain tape from Joann, 1/2 inch linen tape (I had some on hand and didn't have any twill tape, this worked fine), black China silk to bind the placket, silk taffeta for the seam binding (I had some ironed strips leftover from the flounces on my pink ballgown), snaps, hooks and eyes and a thread bar. (I used a thread bar because metal bars weren't available locally. However, Joann now seems to be carrying them in a set with 14 hooks,7 eyes and 7 bars.)


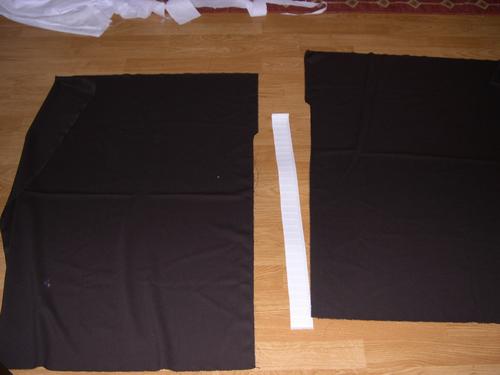
The first step is to cut your fabric. Since the pieces are straight, it's easiest to tear your fabric. This will also give perfectly straight lines without having to think about it. Then, on each piece of fabric, tear a strip off about 1/2 inch in from the edge to about 10 1/2 inches from the top. cut off, rounding corner slightly to give you a shape like in the picture.


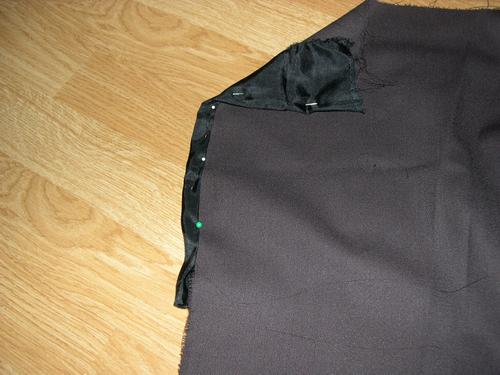
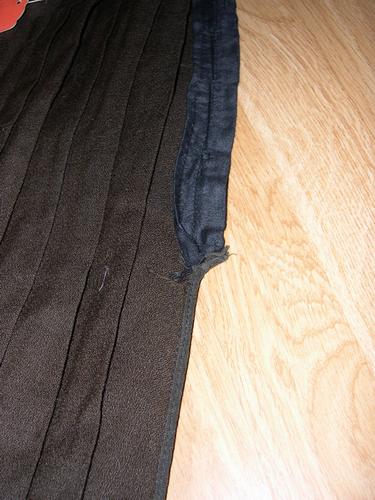
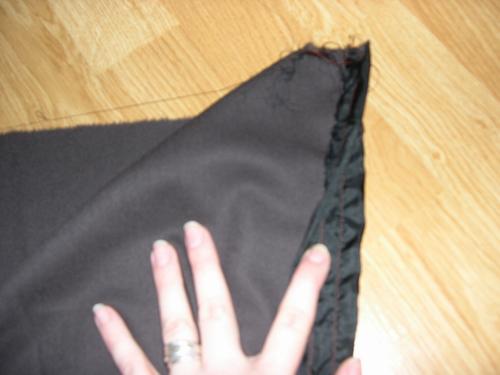
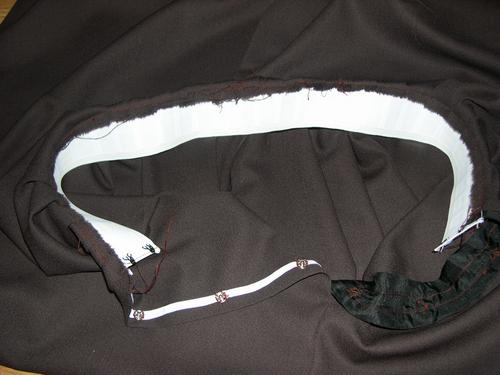
Next, prepare the placket. The placket is on the left side of the skirt.

In the original skirt, the front side of the placket is unbound, because it's the selvedge edge. However, in mine, it's a raw edge, so I bound it with white silk taffeta. Unfortunately, I didn't take a picture of this step, but it's very easy. You don't even need to use a bias strip since it's a straight line. Tear off a piece of your binding fabric about an inch wide, fold the edges under and press, or use a bias tape maker. Then fold the binding over the raw edge down the length of the placket and sew it on. This binding can be seen in some pictures below. This will be your front piece.

The placket on the back piece is bound with a 2 1/2 inch by 11 inch piece of black silk. On the right side of the fabric, line the twill up with the edge of the placket (the edge of the silk is where the edge of the fabric would be if you had torn all the way up). Either use the selvedge edge (which I did) or fold the fabric under (like the original).

To sew binding, sew through all layers, the silk, the wool, and the silk. Sew right at the edge of the silk on the right side, this leaves a largish flap on the underside. Fold in 1/2 inch of that flap and hem.


A picture of the above step. You can see the two lines of stitching, one about 1/2 inch in, the other just hemming the placket.

The next step is to sew the side seams. Sew the right sides of the skirt (with the selvedge edges) together top to bottom, and the left side (with the placket) from the bottom to 1/2 inch above where the placket stops. Bind this seam the same way you bound the raw edge of the placket. The original seems to have bound and sewn the seam in one step, but I'm not quite good enough with the machine to do that :)


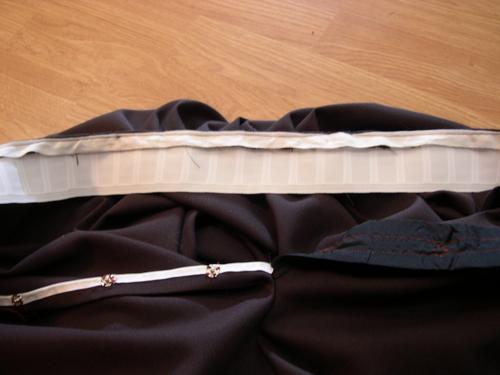
Time for closures! On the front, sew the top part of three snaps, the first, 3 inches from the top, the second, 5 1/2 inches from the top, the last 8 inches from the top. The top and bottom snap are just sewn to the placket, no stitches reach the outside fabric. The middle snap has one or two thread catch the outside fabric. This keeps the placket from turning out. Sew the corresponding bottom halves of the snaps on the back placket edge.


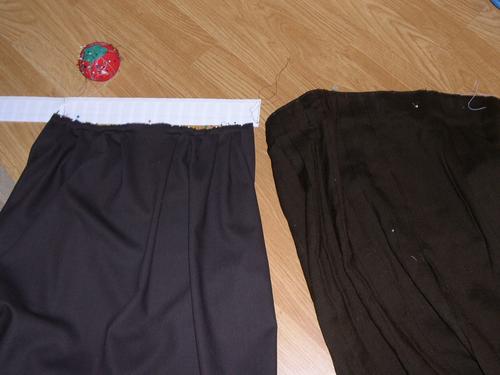
Now it's time to pleat! The original, seen on the right (somewhat obviously!) has a center front box pleat 4 inches wide. The rest of the pleats are back facing knife pleats which have 1 inch showing and 1/2 inch turned under. They end in an inverted back pleat about 2 1/2 inches to the right of the center back. I decided to center this back pleat on my reproduction.

Pleat the skirt to fit the waist measurement, plus 1 inch for overlap.


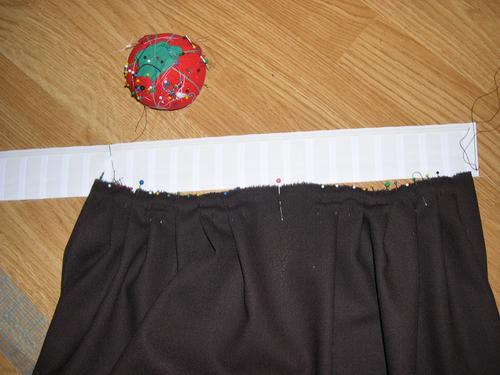
Next, cut a piece of the curtain tape to your waist measurement, plus 1 inch. The tape I found is 3 inches wide, so I had to cut it down to 1 1/2 inches as well. Fold the ends under and hem. It should now match your waist measurement.


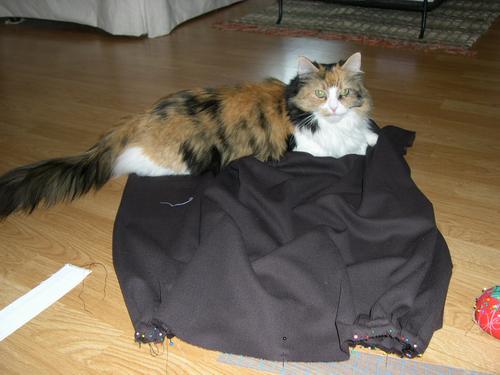
Find a cat to sit on your work.


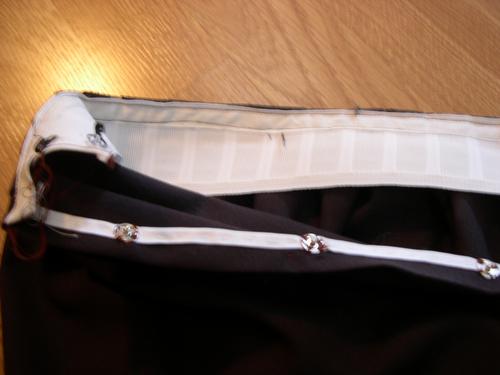
Starting at the back edge, pin the curtain tape to the wrong side of the pleats. This edge should be even with the edge of the curtain tape. Continue pinning all around. There should be about 1 inch of skirt leftover once you get to the end. Sew the tape on, about 1/2 inch from the top of the skirt. Be careful to keep the pleats straight. The picture at left shows what this looks like from the right side.


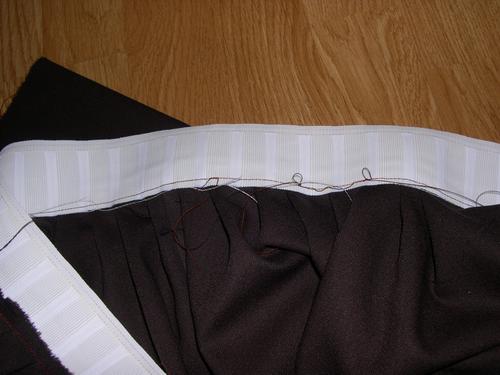
A view of the above step from the wrong side of the skirt.


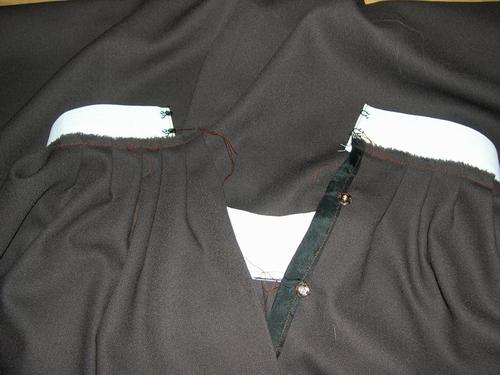
More closures! Put two hooks directly at the front edge of the curtain tape and two eyes directly at the edge of the skirt on the back edge of the curtain tape.

Fold the waistband under and try the skirt on. This is still an easy time to adjust fit if any mistakes were made, which I had to do, of course :)


What the waistband looks like when it's folded under.


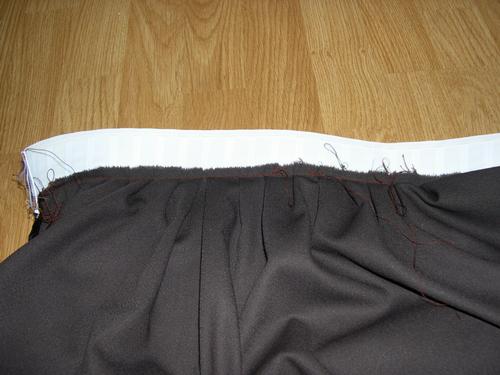
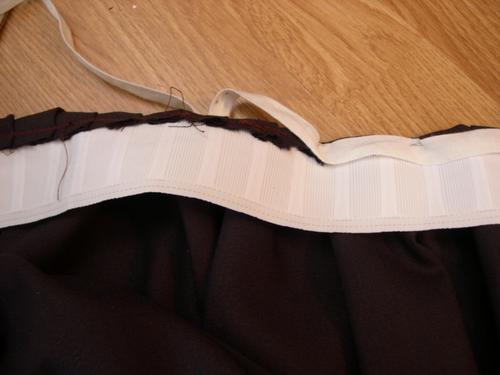
Next step, bind the top edge. With the waistband folded under, pin the twill tape over the raw edge, through all the layers-the raw edge, the curtain tape and the right side. Sew through all these layers, again being careful to keep the pleats straight. You'll have sewn the fold down so the waist tape has no chance of flipping up.


A picture of what it looks like sewn.


The next step is to finish the waistband. Sew the bottom edge of the twill tape to just the curtain tape, enclosing the raw edge of the wool.

Pictures end here, but construction doesn't!

The skirt still needs one more closure. Sew a hook to the overlap (on the front of the skirt), just inside the edge so it's completely hidden. Sew a bar, either a metal or thread to the back of the skirt in the correct place to work with the hook.

Hem the skirt. Fairly obvious :) The original is hemmed by machine with a 2 inch hem, my copy is hemmed by hand.

Now the fun part, ironing the pleats. To pleat the skirt, I carefully measured and pinned the pleats in place, 2 or 3 at a time, from top to bottom and ironed. I used lots of steam and lots of patience doing this :) Then I took each fold on both the right and wrong side, and carefully ironed just that edge.

There's no pleat where the placket is, which should give a large gap in the pleats, right? Well, the original solves this problem quite nicely. There's a false pleat ironed in. directly below the placket, the seam is pressed just slightly, about 1/8 inch to give it the look of a pleat.

And that's it!


The Reproduction
Patterns
The Edwardian and Teens Era


I'd like to go home!