To Make the Corset:
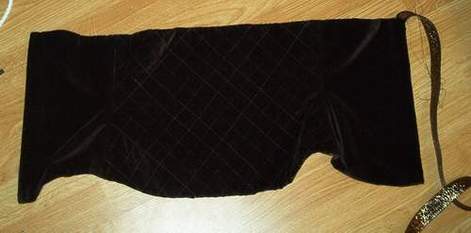
For my corset I used velvet, flat lined with cotton sateen as the top
layer, and cotton twill as the lining layer.
Cut out the pieces:
Front (Cut one fabric, one interlining, one lining): Cut with straight
edge on the fold
Back (Cut two fabric, two interlining, two lining): Cut with straight
edge on the selvedge
The sewing:
Lining:
1) Using a 1/2" seam allowance, sew the front to the backs.
2) Turn back edges under (to the wrong side) about 1/8" then about
3/8" to form casings for bones. Stitch.
3) One inch away from stitching line, sew a boning casing. (All boning
casings will go on the wrong side)
4) Sew boning casings on side seams and on center front as marked by
the pattern.
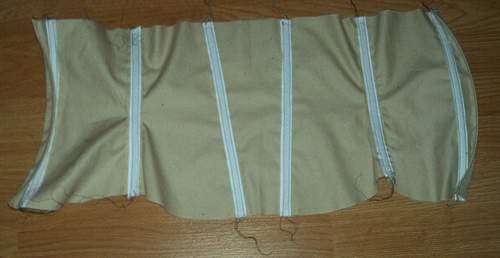
I used artificial whalebone for the center back and spiral steel for
the side and front boning.
5) Insert boning. It should be a little more than half an inch
shorter than the casing.
The Outer Layer:
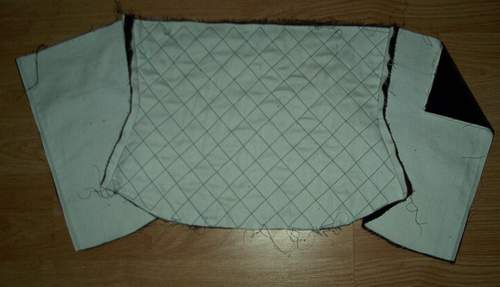
1) Stitch interlining to fabric, wrong sides together. Treat pieces
as one.
2) Sew fronts to backs.
For quilting. It's probably easiest if you quilt before sewing
the pieces together. I of course did the quilting last. I only
quilted the front piece. I used my clear ruler to draw lines with a fabric
marker on the lining. Then I just stitched over those lines.
It took a while, but the results were worth it!
To put the corset together:
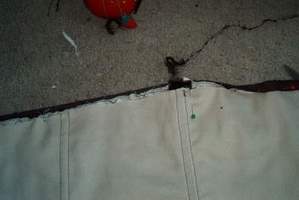
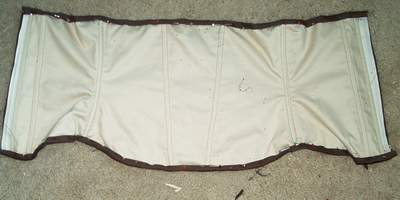
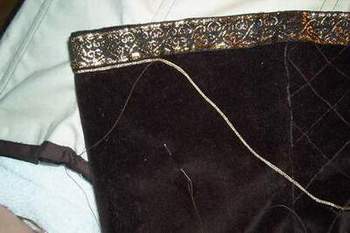
1) On the outer layer, sew bias tape to both the top and bottom of the
corset.
2) Trim the lining so that it matches the stitch line.
3) Pin the lining to the outer layer, wrong sides together (bones will
be on the inside)
4) Fold bias tape down over lining and pin into place. (No bias tape
will show on outer layer.)
5) Stitch bias tape by hand to the lining.
6) Fold center back edges of corset under 1/8" then 3/8" and whipstitch
to lining to finish center back edges.
Trim as desired!
Shieldmaiden
Home
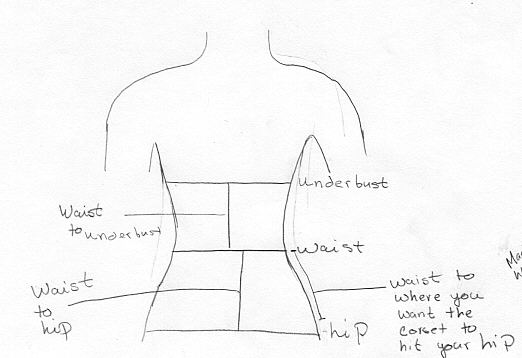 To make the corset you need to take six measurements.
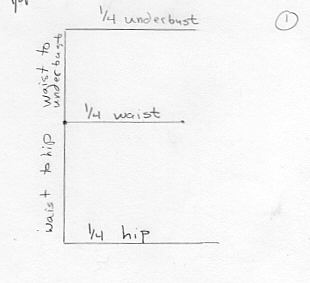 To draft the corset:
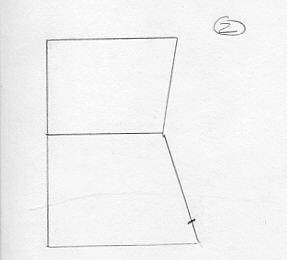 7) Draw a line connecting the end of the bustline to the waist and then
to the hip.
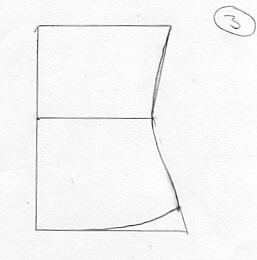 9)
Starting from about the center point of the pattern piece, draw a sloping
line up to the dot made in step 8.
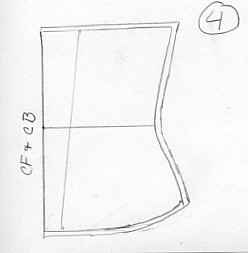 11) Add seam allowances. 1/2" to the side seams and 1/4" (or whatever
the size fold on the bias tape you're using) to the top and bottom.
You may add a seam allowance to the center back as well. I chose
not to, since, in my experience, corsets stretch quite a bit and I wanted
a little extra room to do that.


