1880s Day and Evening Dress
Pattern and Construction
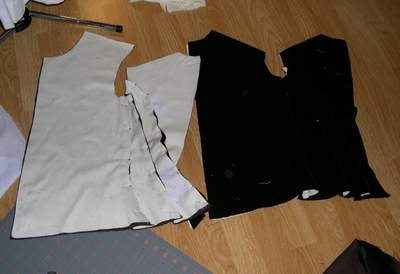
 I started by cutting the lining, then I used the lining as my pattern. Here you can see the cotton sateen on the velvet. It takes a little longer to cut this way, since you cut each layer of the velvet individually, but it's worth it because you know that your lining and fabric match perfectly. |
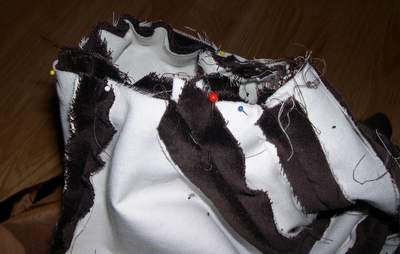
 Next, I pinned all the pieces. I was very careful moving them so I wouldn't shift the layers. This makes it possible to skip basting the two layers of fabric together. |
 Next, sew the seams. |
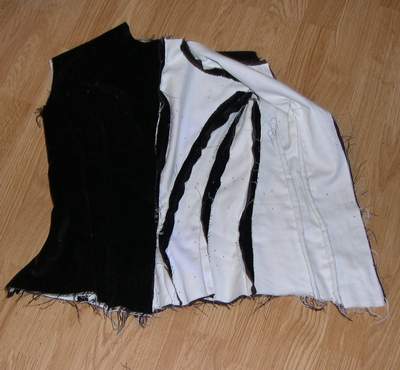 Once the seams were sewn, I tried the bodice on inside out and pinned the darts in. Then I sewed them in place and checked the fit. |
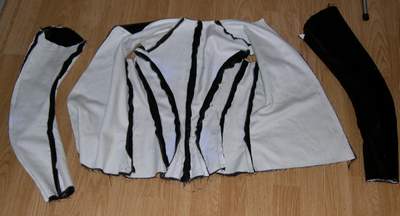
 Time for the sleeves. The back sleeve seam lines up with the side back seam. The sleeve fits smoothly into the armscye, with no gathering or easing stitches. |
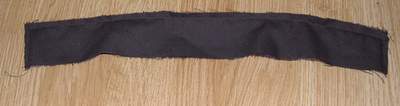 To make the collar, first sew the velvet and lining, right sides together along the two short sides and one long side, leaving one long side open. |
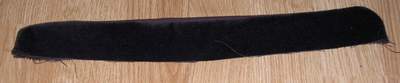 Turn the collar right side out and press. (This is possible with velvet, just use a fluffy towel below it so the pile doesn't crush.) |
 Cut a piece of bias tape the same length as the collar. |
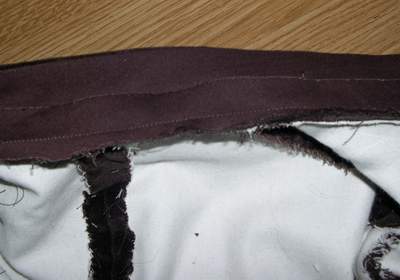 The collar and bias tape sewn into place. |
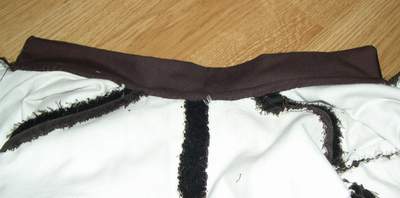 Fold the end of the bias tape under and handstitch into place. |
The Pattern
Pattern and Construction, Page Two
The Dresses
Details
My Costumes
The Bustle Era
 Home now!