I used an 18th century technique found in Costume Close-Up to make and line the coat. I didn't want to bag line it because I felt that it would hang better if the lining was attached at all the seams, however I wanted to seams covered so the inside would be smooth. The 18th century technique fit both of those criteria.
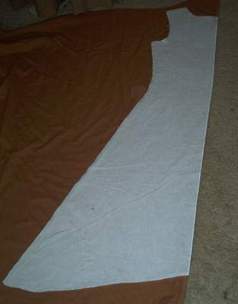
 The Sleeves First, I took my sleeve pattern and cut it out of the flannel interlining. My sleeve pattern doesn't have the little slope needed to prevent bunching. Then, I took the interlining and laid it on top of the matelassse (you can see the slope in this picture) and cut it out. Then I took the lining and matelasse, still pinned together, and placed them on top of the China silk lining. This technique takes longer, but I think is easier in the end since you know all your pieces are the same size, without any small cutting variations. |
 |
 |
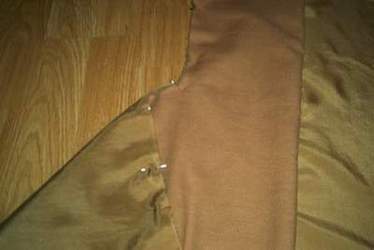
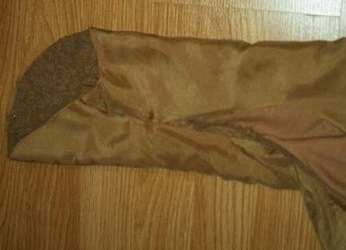
 After the sleeves were cut, I sewed them together. First, I pinned the seam. I only pinned one layer of the China silk lining, both layers of the flannel interlining and both layers of the matelasse. I left one layer of the lining free. You can see this in the first two pictures. After the seam was sewn, I brought the free side of the China silk lining around, folded the seam allowance under, and whipstitched it into place. This is visible in the third picture. |
 |
 |
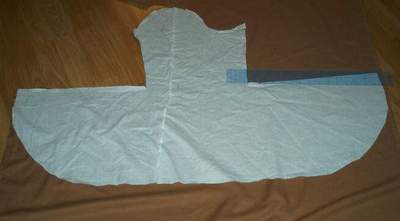
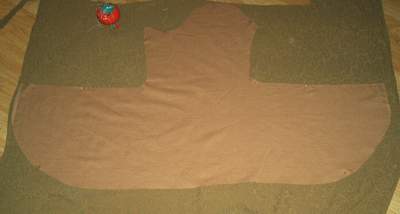
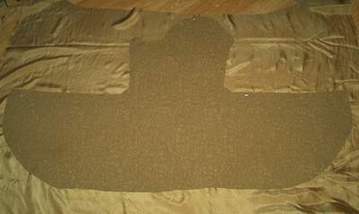
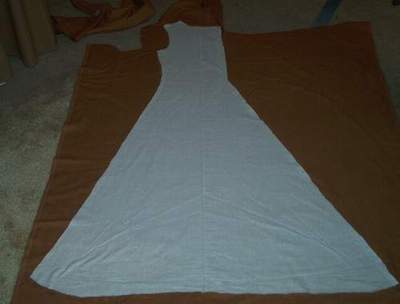
The Body I made the body of the coat the same way as the sleeves. First I cut the flannel interlining, then the matelasse, then the China silk lining. I pinned each seam through all layers but one of the lining, sewed the seam, brought the lining over, folded the seam allowance under and whipstitched it into place. The pictures show the pattern laid out on the flannel. The center front line looks slanted, but it's cut on the straight of grain. Just a camera angle problem :) |
  |
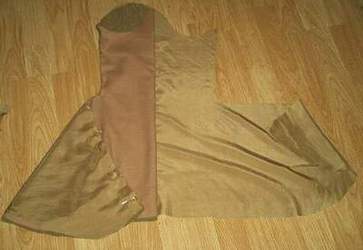
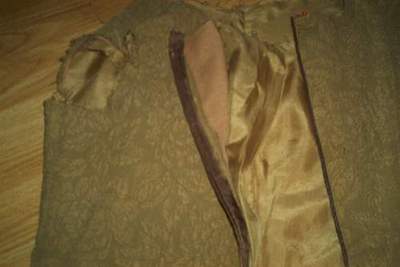
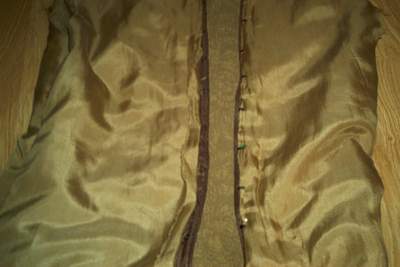
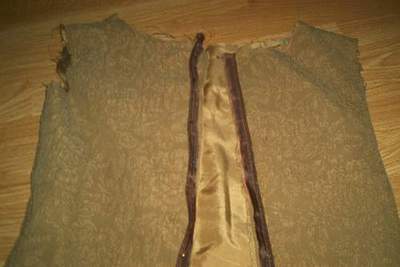 The Center Front First, I made the piping by taking strips of China silk, folding them in half and putting a piece of jute cording in the fold. Then I sewed the cord in as closely as possible using the zipper foot on my machine. Next, leaving the China silk lining free, I pinned the piping to the center front edges. I matched the edge of the piping to the edge of the bodice. Then, I hand sewed (so I could get closer than my machine could) the piping to the coat using a running stitch. I then folded the piping so the seam allowance was on the inside. I steamed this instead of pressing it, since pressing flattens the pattern of the matelasse. Before sewing the lining into place, I sewed the hooks and eyes on. This way, just the tips of them would show from underneath the lining and the lining would hold them flat. When I was done with the hooks and eyes, I brought the lining up to the edge, and sewed it as I did for the sleeves and body of the coat. Making sure of course, that the tips of the hooks and eyes peeked out from under the lining |
 |
 |
Finishing
The sleeves are sewn in the normal way. Gather the top, fit it in the armscye and sew. I finished the seam allowance by binding it with strips of China silk that I had cut on the bias.
The neckline, cuffs and hem are sewn with another 18th century technique called le point a rabattre sous la main. Basically, you turn the lining and outer fabric edges towards each other and make a stitch that looks like a running stitch on the outside and whipstitch on the inside. Pictures can be seen on my 18c jacket page.
The final step was sewing on the fake fur and buttons. The fake fur all had to be hemmed, then I whipstiched it on. The buttons are just sewn to the edge of the piping.
 Time to go home!