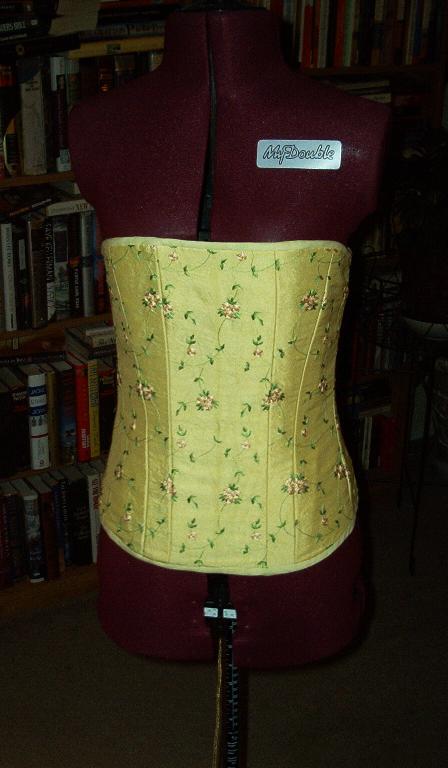

My version of the corset. The embroidery covers the entire corset and it laces up the back, both changes from the original.
More pictures (click for a larger view)...
The Construction
I used the Laughing Moon Corset pattern. Obviously I had to make a few changes. I put the center front piece on the fold (subtracting the 5/8" seam allowance of course) and rounded the shape of the bottom. I also added 3/4" to each back side so the gap in back would be smaller. I used the Silverado corset, since that's the one I used before, but elimated the bust gores by drafting them into the main pattern pieces. I just pinned the gores to the pattern before cutting. Instead of eyelets or grommets I used lacing rings. It gives a very pretty effect, with only the lacing showing.
The corset is made of two layers of coutil and a decorative layer of embroided dupioni lined with cotton sateen. It is boned with steel bones on the seams and the center back. The top and bottom are bound with bias tape.
My first step was to make a mock-up of the corset in drill. Even though I had used the pattern before I was making changes and wanted to be sure the changes would work.
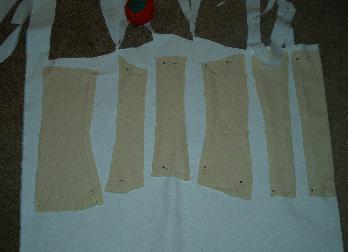
The drill pattern laid out on the coutil. The center front is on the right, the back is on the left.
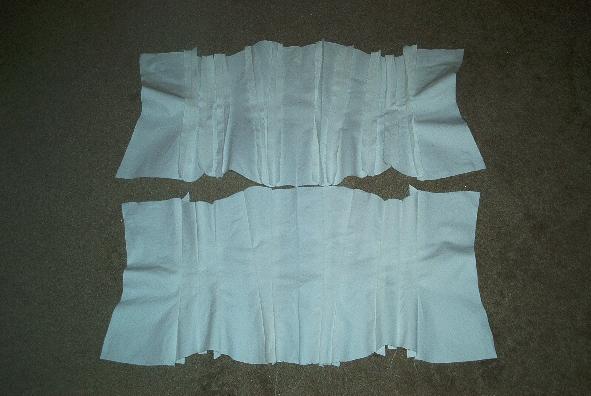
The two layers of coutil. On top, the wrong side, below, the right side.
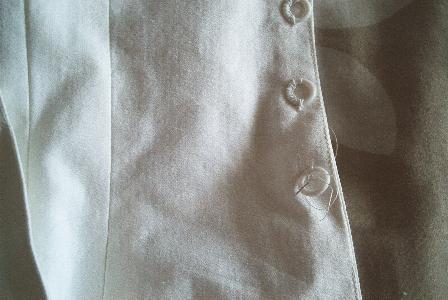
Sewing on the lacing rings. Please note that the plastic rings were replaced with metal rings. The plastic just wasn't strong enough :)
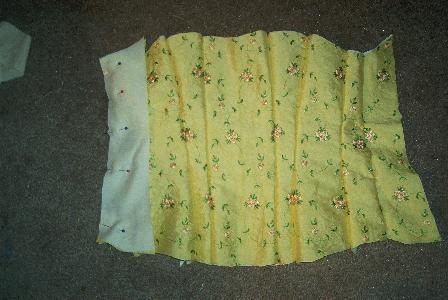
Pinning the decorative layer. I flat lined the silk with cotton sateen. Since the pieces were so small I didn't bother edge stitching the pieces together like you normally would. Saved quite a bit of time!
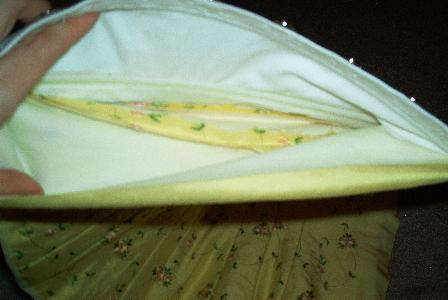
The inside of the corset. As you can see the decorative layer is only sewn at the edges, not the seams. This picture was taken through the back edge, which was later hemmed shut.
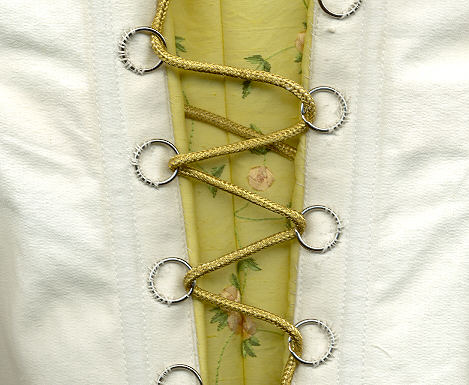
A scan of the inside, showing the lacing rings. Ignore the random cord running under everything :)
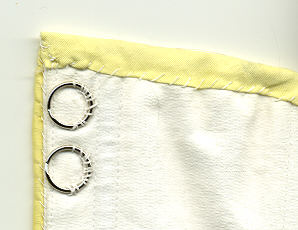
Another scan, this time of the bias binding from the inside
