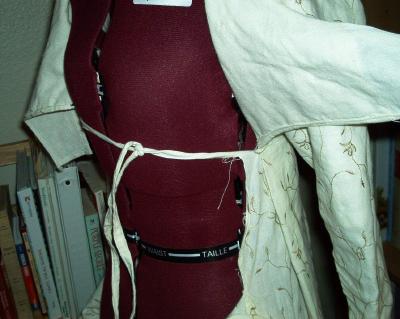
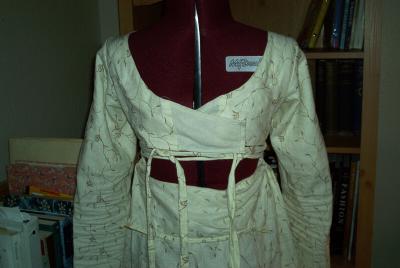
Putting the dress on is quite complicated! First, it needs to be worn over the proper undergarments, a shift and stays. I've read that the lining front can give the necessary support, but I've found that I just slip under it and the ties around the waist are uncomfortable as well. The dress works much better with a corset. Shown is the first step in putting the dress on. The ties come from the sides of the skirt and help to keep the back in place.
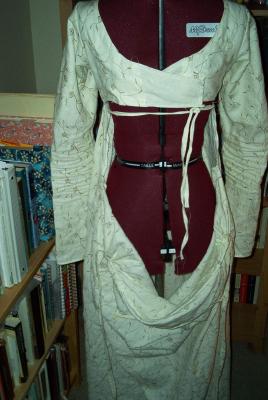
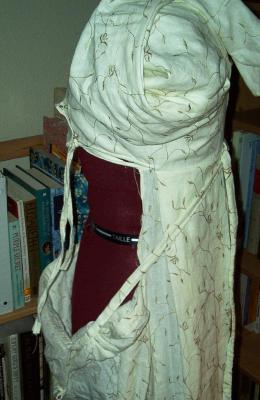
Next, fasten the lining. The picture on the left shows the skirt without the ties threaded through the loops. Usually I just keep the ties in place, since you don't need to unthread them to get in or out of the dress. The rather complicated picture on the right shows the sleeve lifted and the ties threaded through the loops.
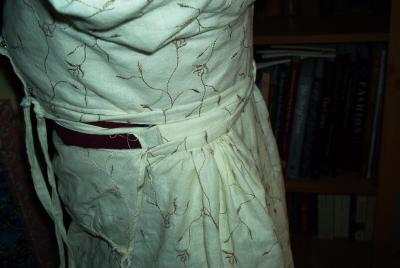
Ok, now tighten the ties. On the left you can see the skirt coming into place. On the right, the skirt is in place and the skirt ties are tied. I found it worked pretty well to tie both ties slightly off center so they don't cause much bulk.
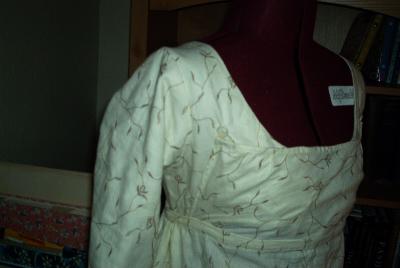
Finally button the bib, and you're done! Same picture as the other page, I know. I just wanted to use it twice. The buttons are cloth covered and handmade with small metal rings (I finally found proper lacing rings, well, curtain rings really, they work great for buttons too!). I used the directions from Kannik's Korner's Lady's Guide to Plain Sewing, Book Two.
Koshka, helping once again!
Page One, The
Dress (with me!)
Page Two,
The Dress
Page Four,
Construction